How do I generate an invoice from approved timesheets?
Automatically pull approved hours into professional invoices, configure client payment terms, apply sales tax, and send invoices.
What You Need Before Starting
- Approved timesheets for the target billing period.
- Configured client account in Foundation.
Step-by-Step Instructions
Open the Invoicing Module
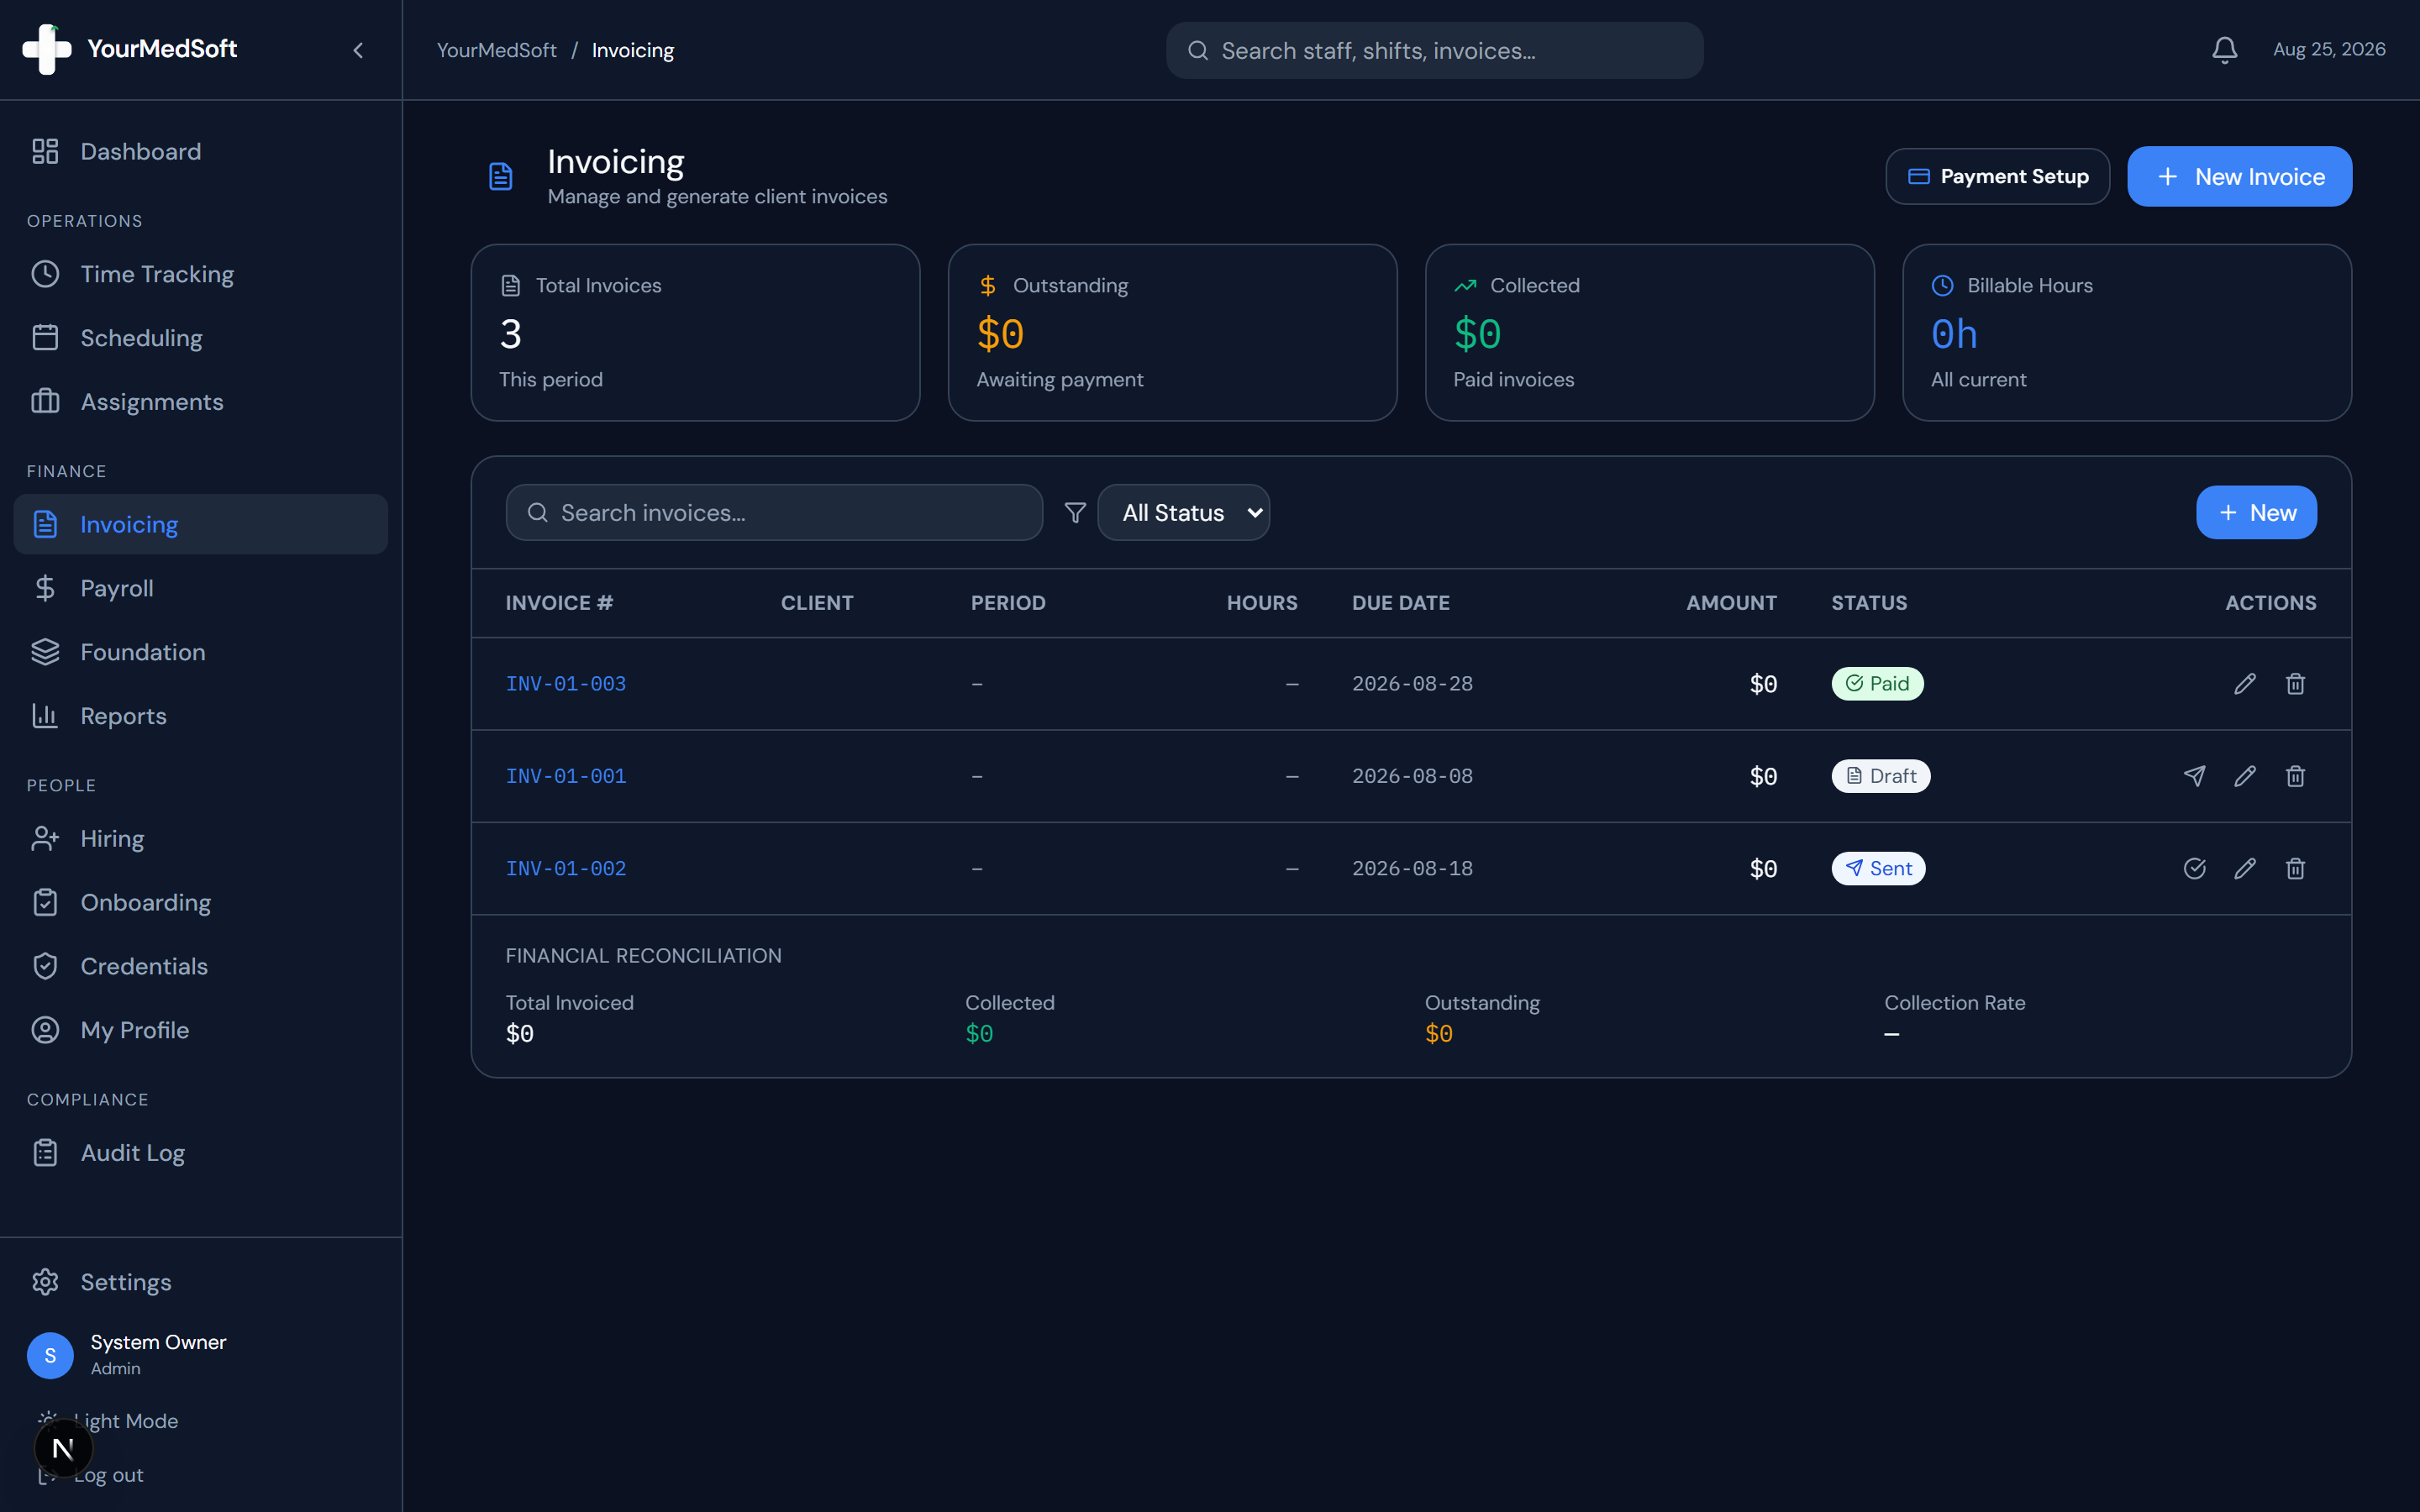
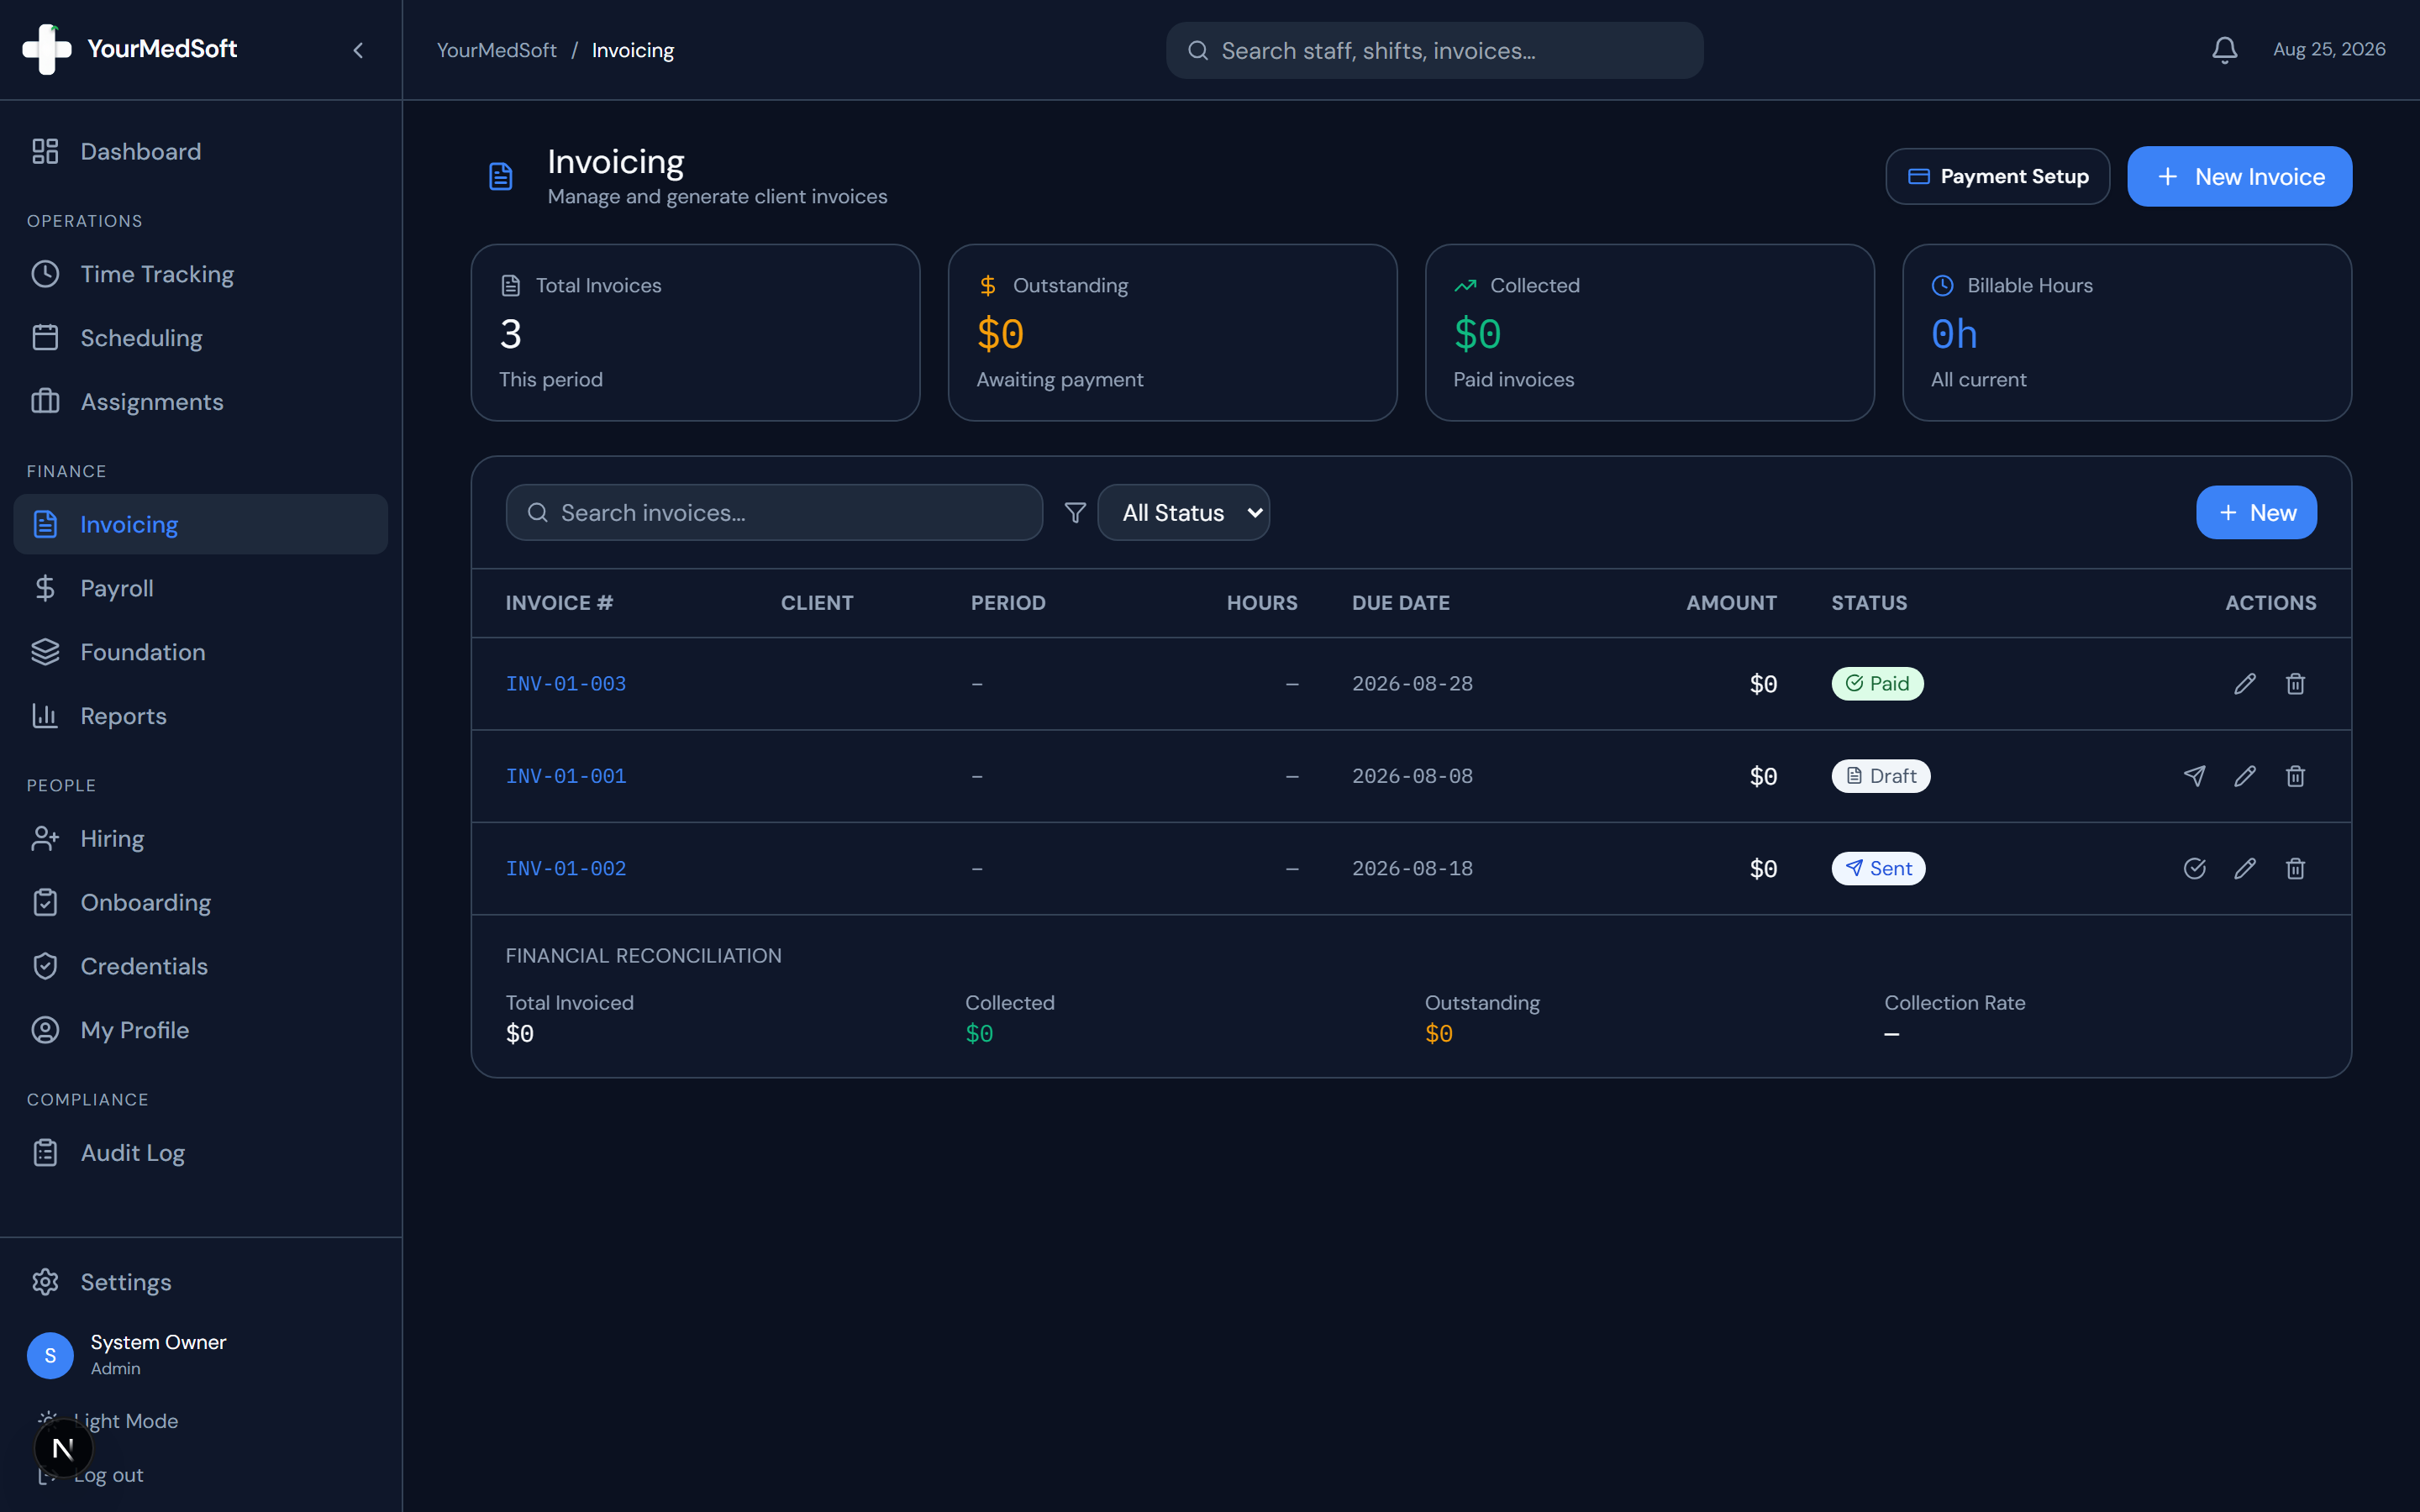
Click "Invoicing" in the left sidebar to view your invoice directory.
Launch the Invoice Builder
Click the blue "Create Invoice" button in the header.
Invoice Builder with integrated client receiving payment methods and line item generator.
Select Client and Billing Period
Choose the client facility from the dropdown. The system automatically pre-fills their billing email, physical address, and net payment terms. Select the Period Start and Period End dates.
Import Approved Timesheet Hours
Click "Import Approved Hours". A drawer opens displaying all approved shifts logged during that date range. Click "Select All" or check individual shifts, then click "Import Selected".
Review Line Items and Apply Tax
All imported shifts populate with clinician name, role, date, total regular/OT hours, and bill rates. Enter any applicable sales tax percentage.
Save Draft or Send Invoice
Click "Save Draft" to keep the invoice for later review, or click "Send Invoice" to finalize and deliver the invoice to the client.
Pro-Tips & Best Practices
- You can also click "Add Line" to manually add custom fees, travel reimbursements, or orientation stipends.
- Invoice numbers are automatically generated with year and sequence tracking (e.g., INV-2026-104).
Frequently Asked Questions & Troubleshooting
Why are some shifts missing from the import drawer?
Only timesheets with an "Approved" status appear in the import drawer. If a shift is missing, check the Time Tracking module to ensure the timesheet was approved.
Was this guide helpful?
Your feedback helps us continuously improve our documentation.